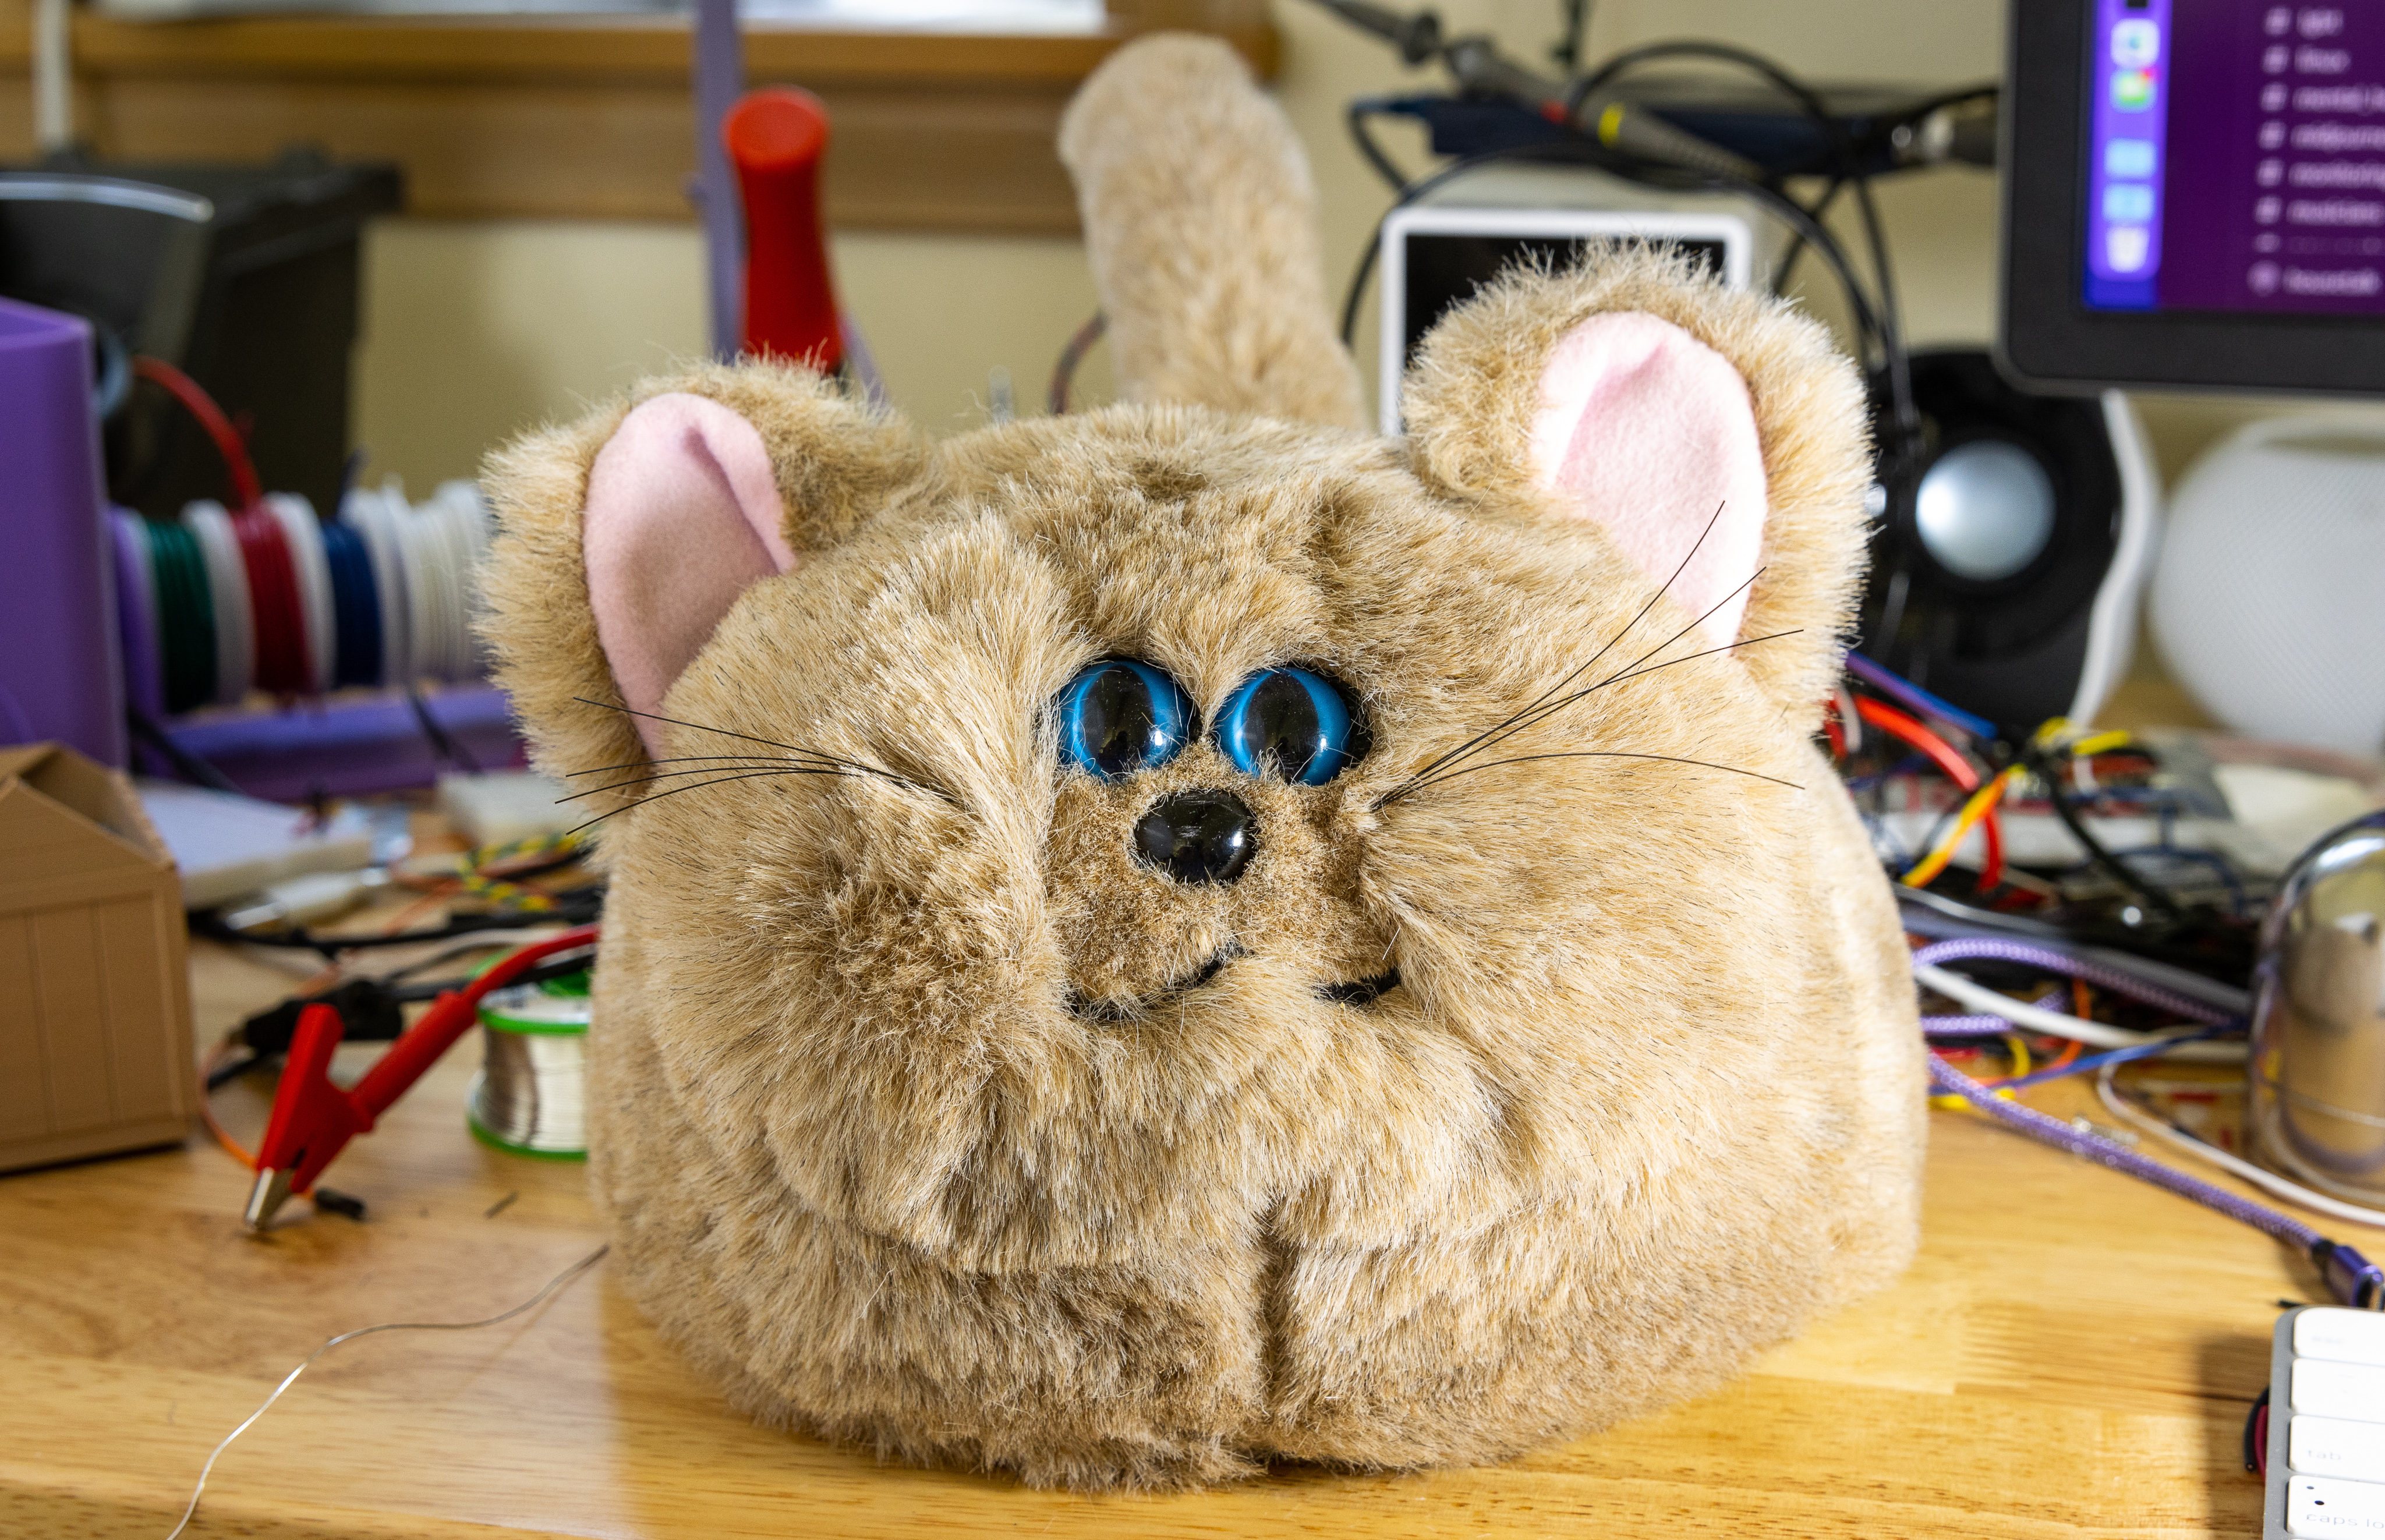
I recently picked up this Petster off of eBay! The listing said it was broken. It made noise, and you could hear the motors running, but the Petster itself didn’t move. I’ve seen this failure mode before, so I figured I’d grab it and see if I could restore it back to operating.
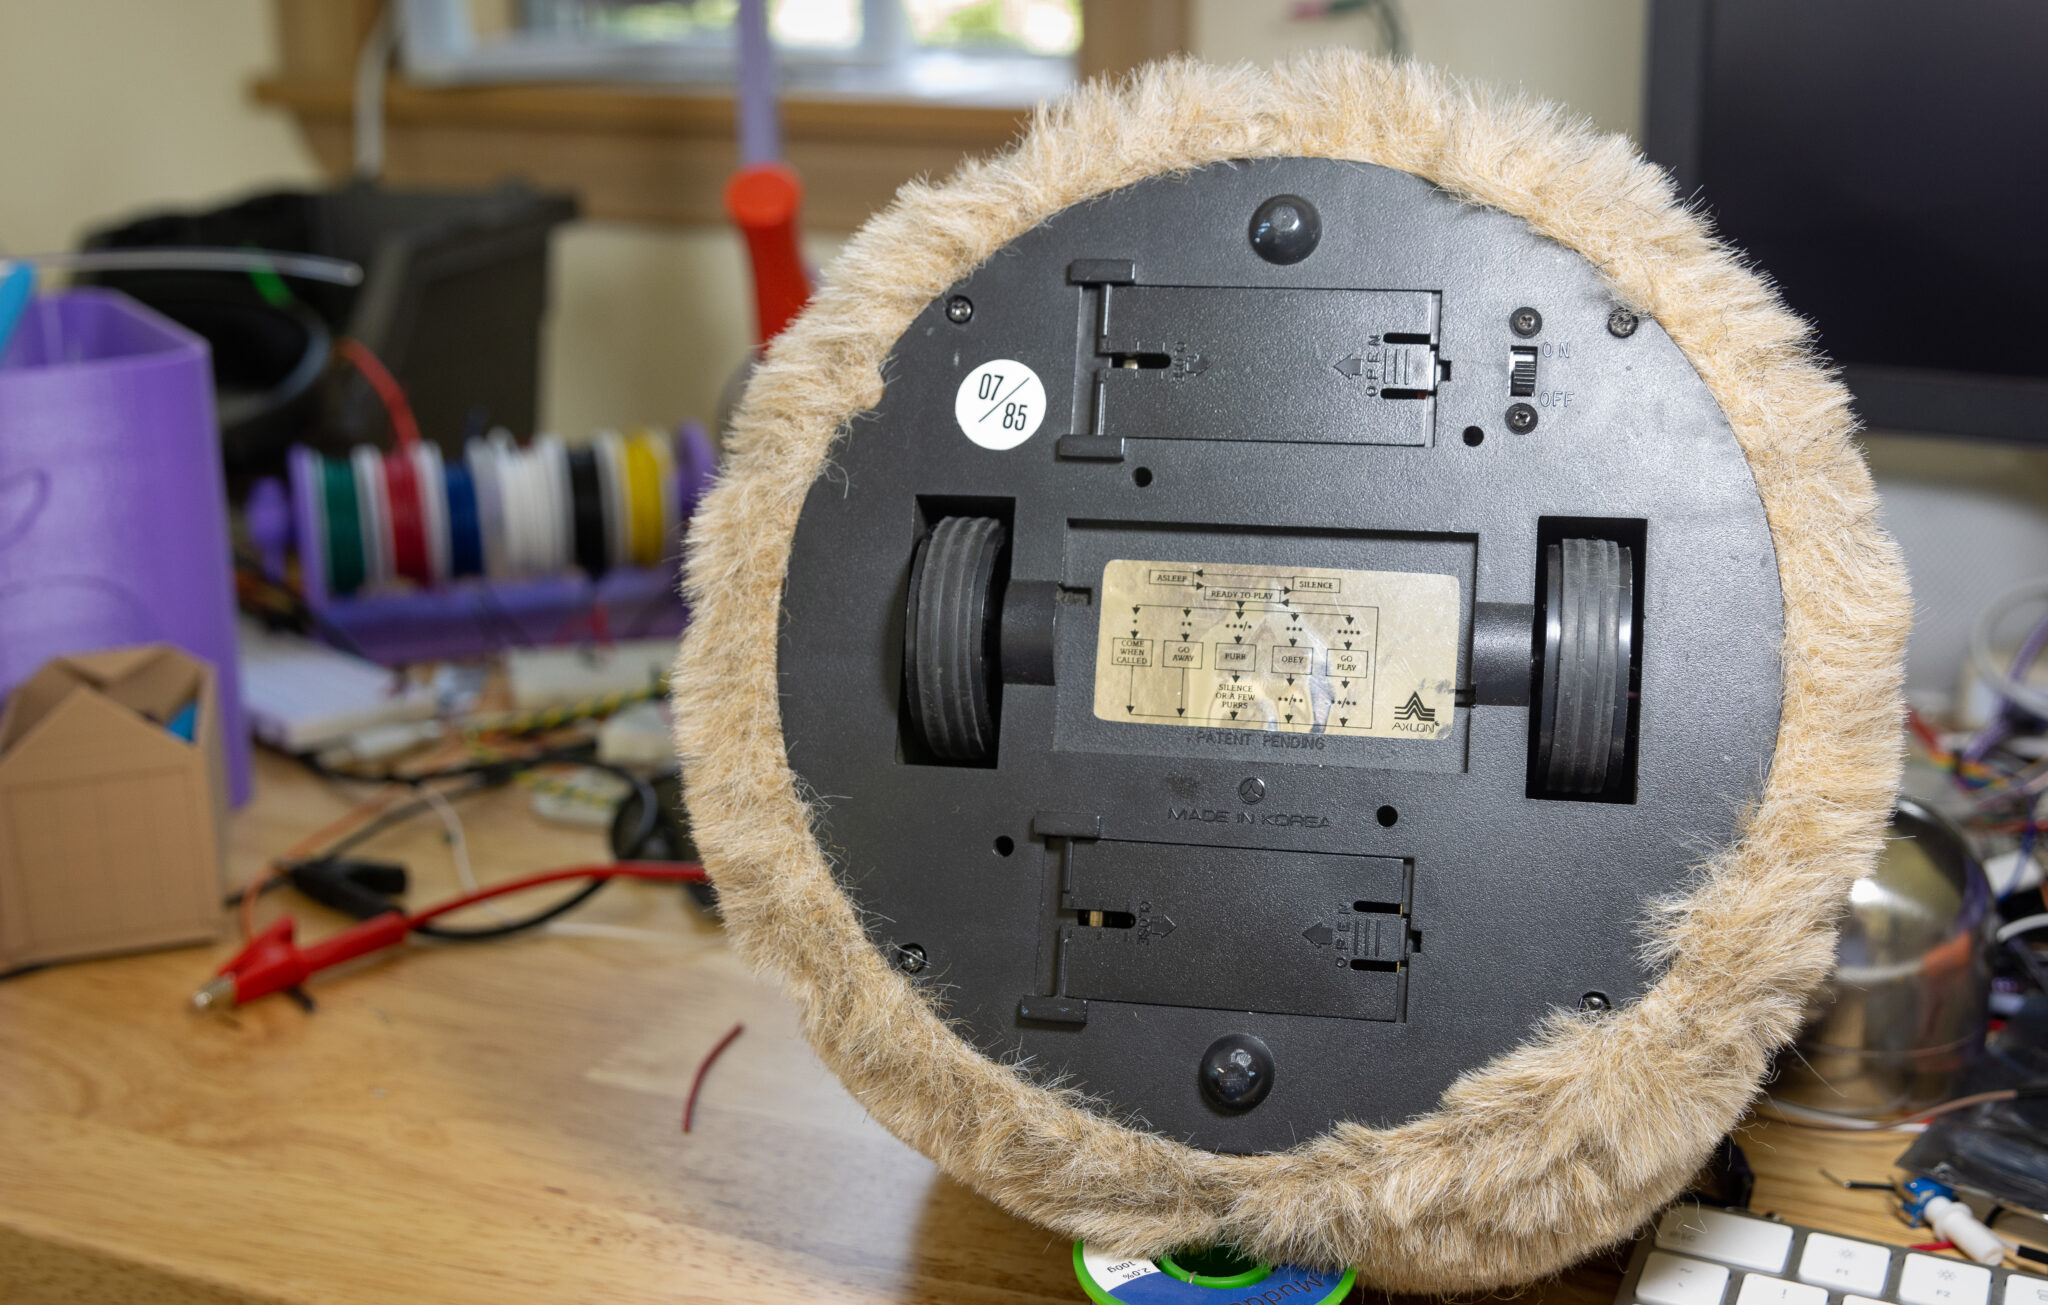
Taking a good look around, it looked like it had been well loved, but was in pretty good shape. There was no signs of battery leakage, and the bumpers on the bottom were worn, but not worn down. The wheels looked like they’d been used, but the rubber was still in good shape!
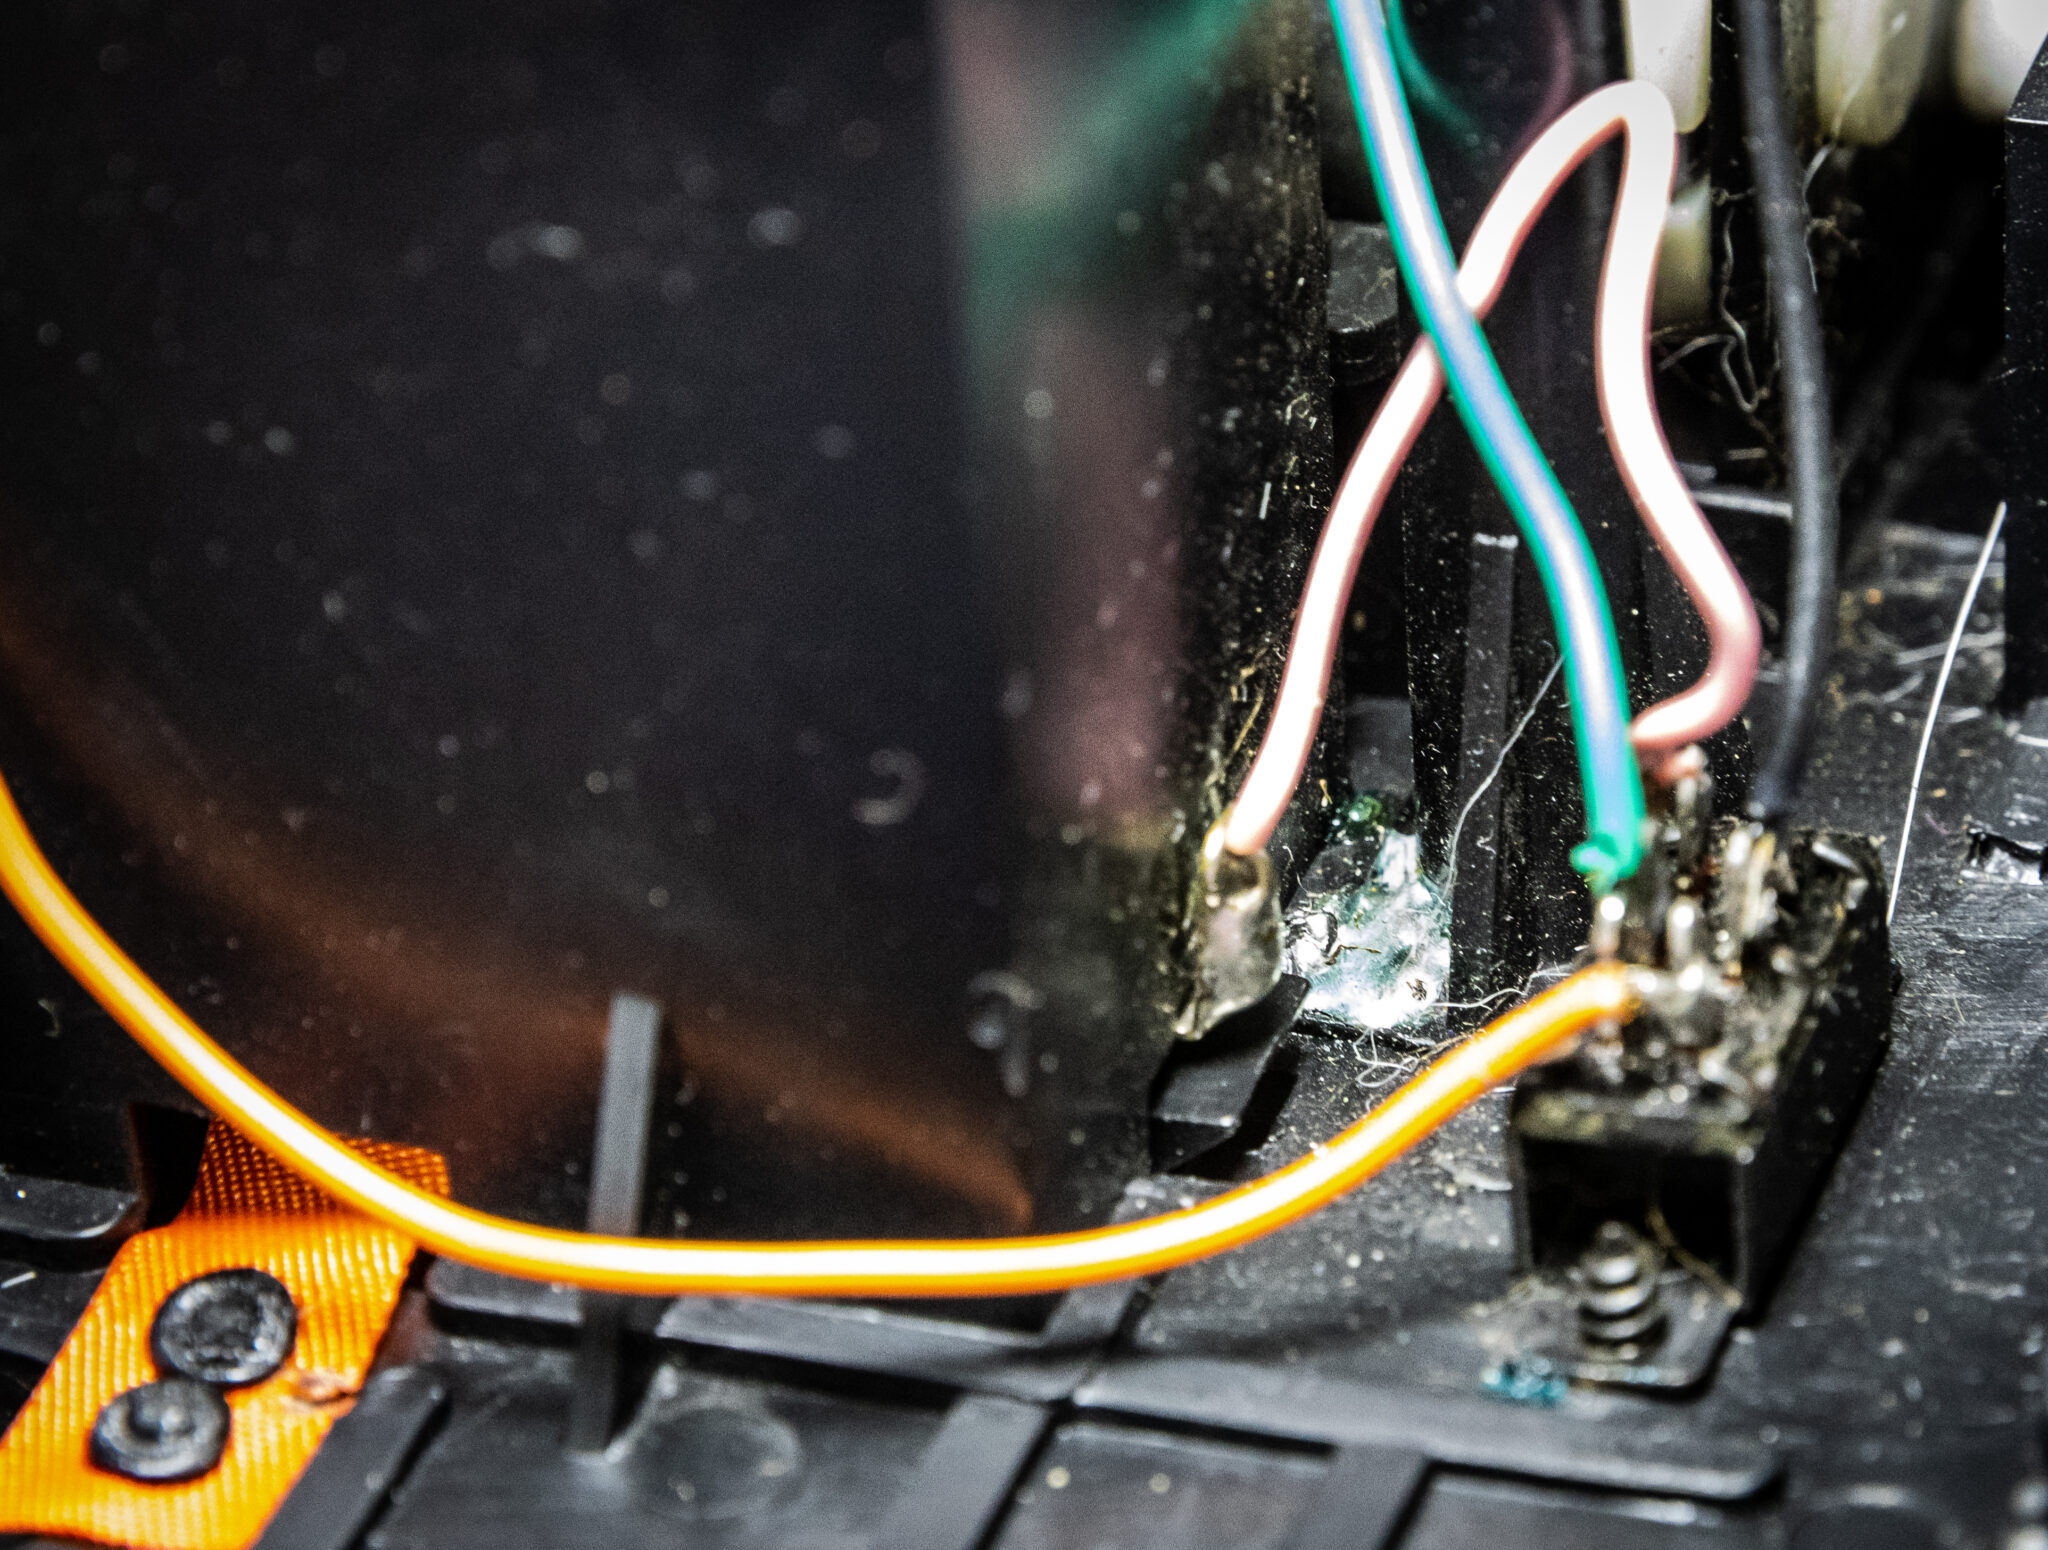
When you open up a Petster, it’s pretty cool to see just how hand-made they are. For example, this one has some solder just dripped inside the case:
Here we can see that the electrical tape that covers the hand-soldered wire connections had failed:
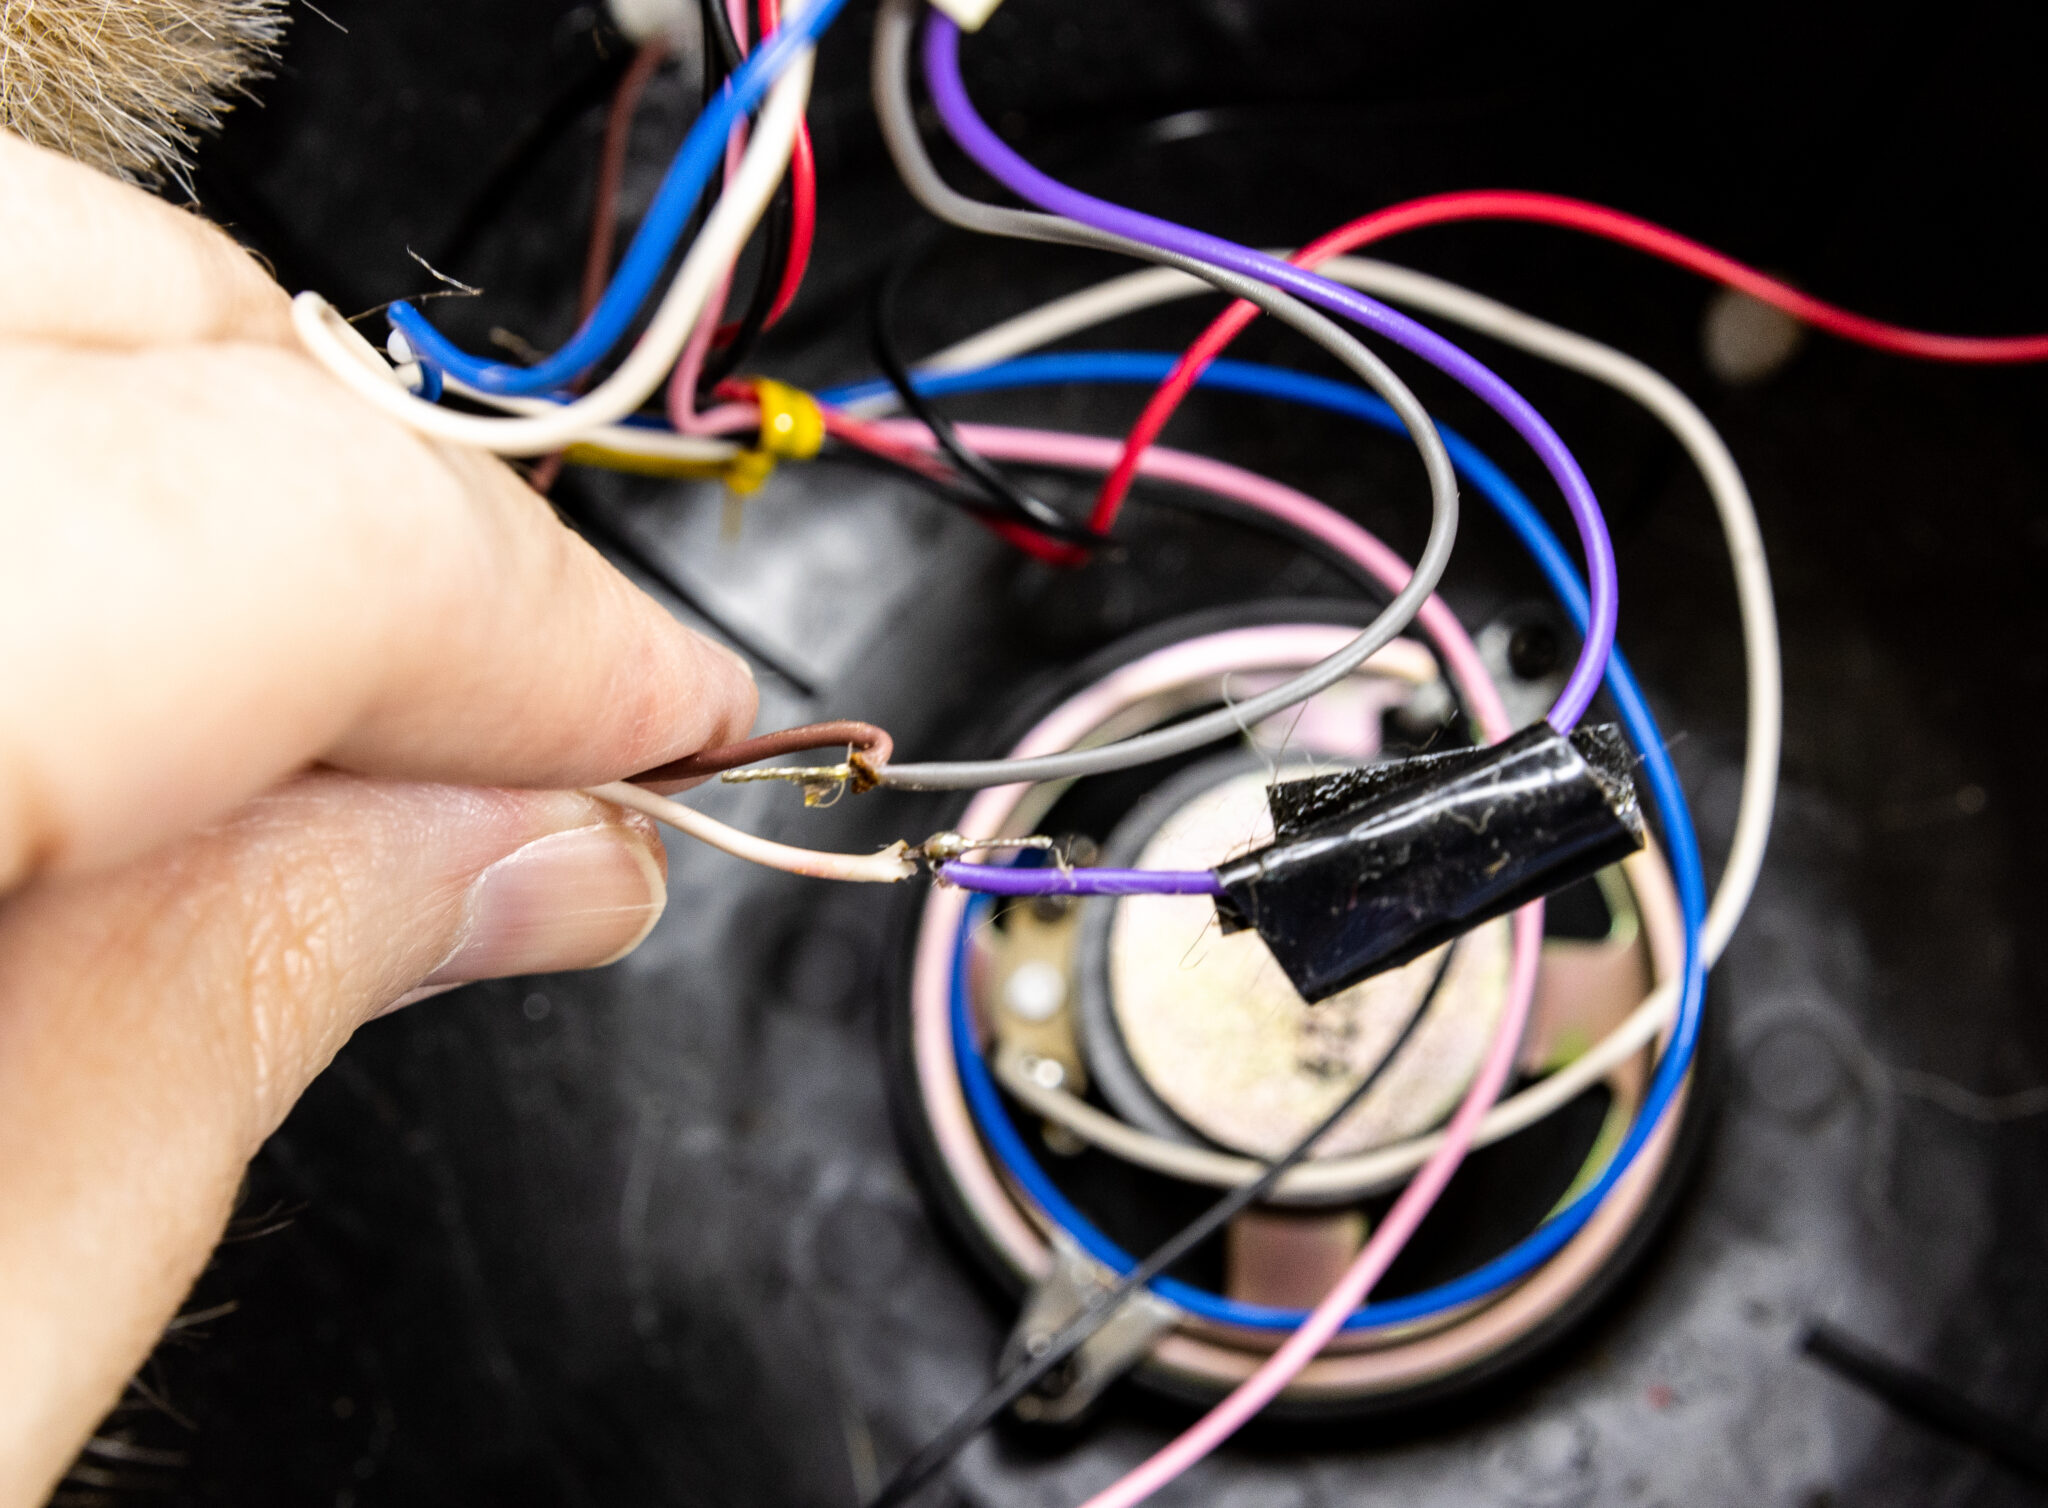
I’ll fix this before I close it up! This is a disaster waiting to happen. It’s really cool to me to see how things were manufactured in the 1980s. It wouldn’t look like this today.
Once I started poking around the gears, it was instantly obvious what was wrong. The small drive gear that connects the motor to the wheel had aged and broken. This is a very common thing, I see this on just about every Petster I fix.
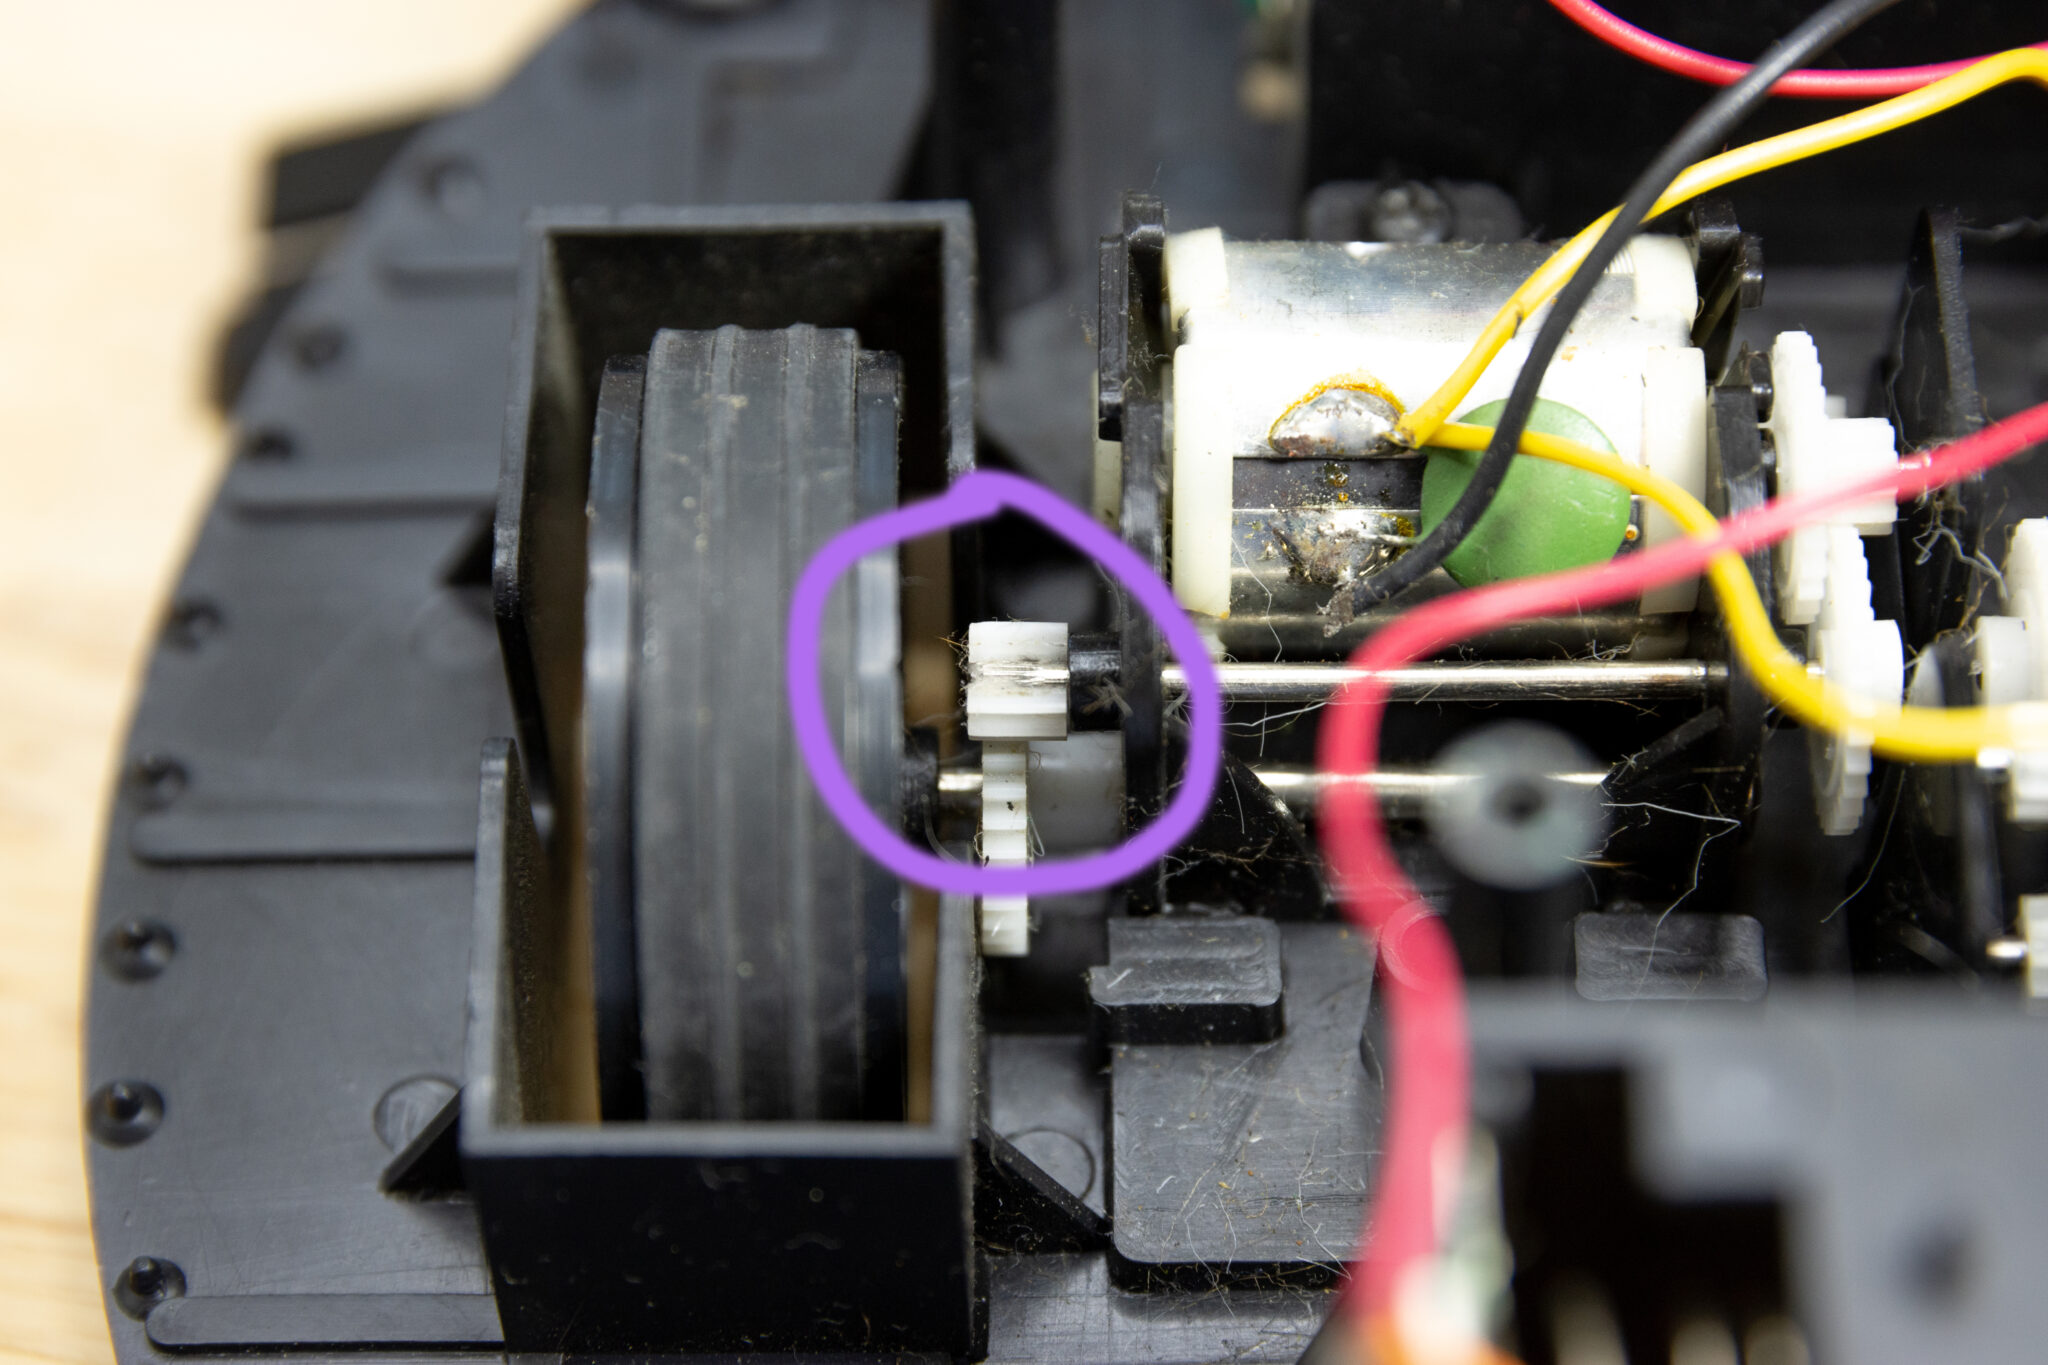
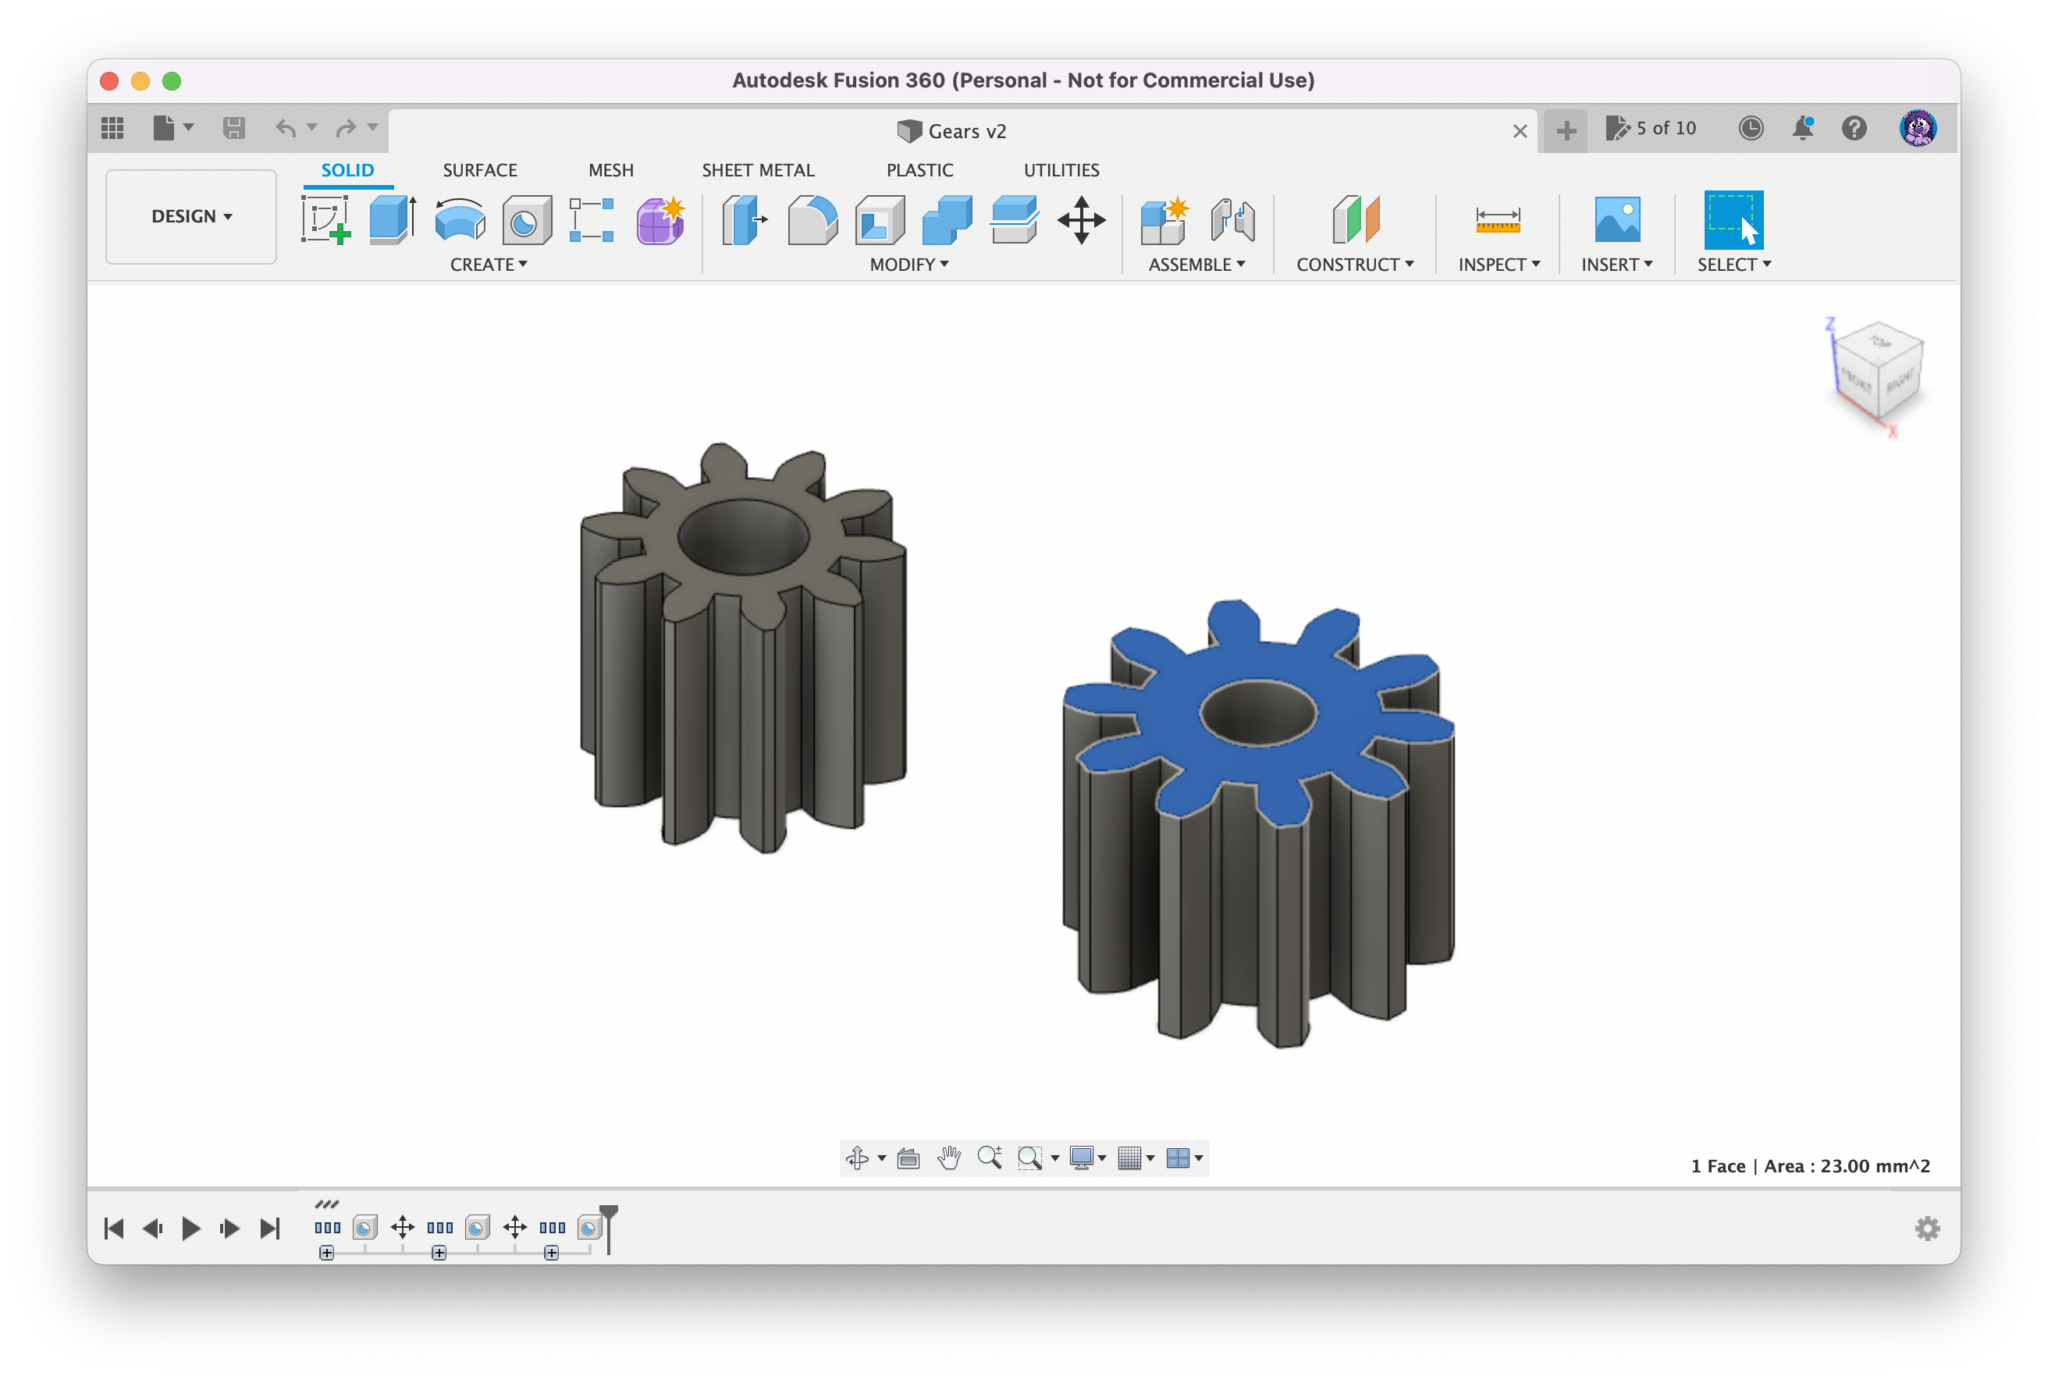
These gears age poorly, I think. They push the entire weight of the Petster around (and get abused when it runs into walls), so they’re really critical. I created some replacements for this gear in Autodesk Fusion 360 a while back so I could print out as many as I want.
If you’d like to try to repair a Petster yourself, here’s a link to my STL file for the replacement gears.
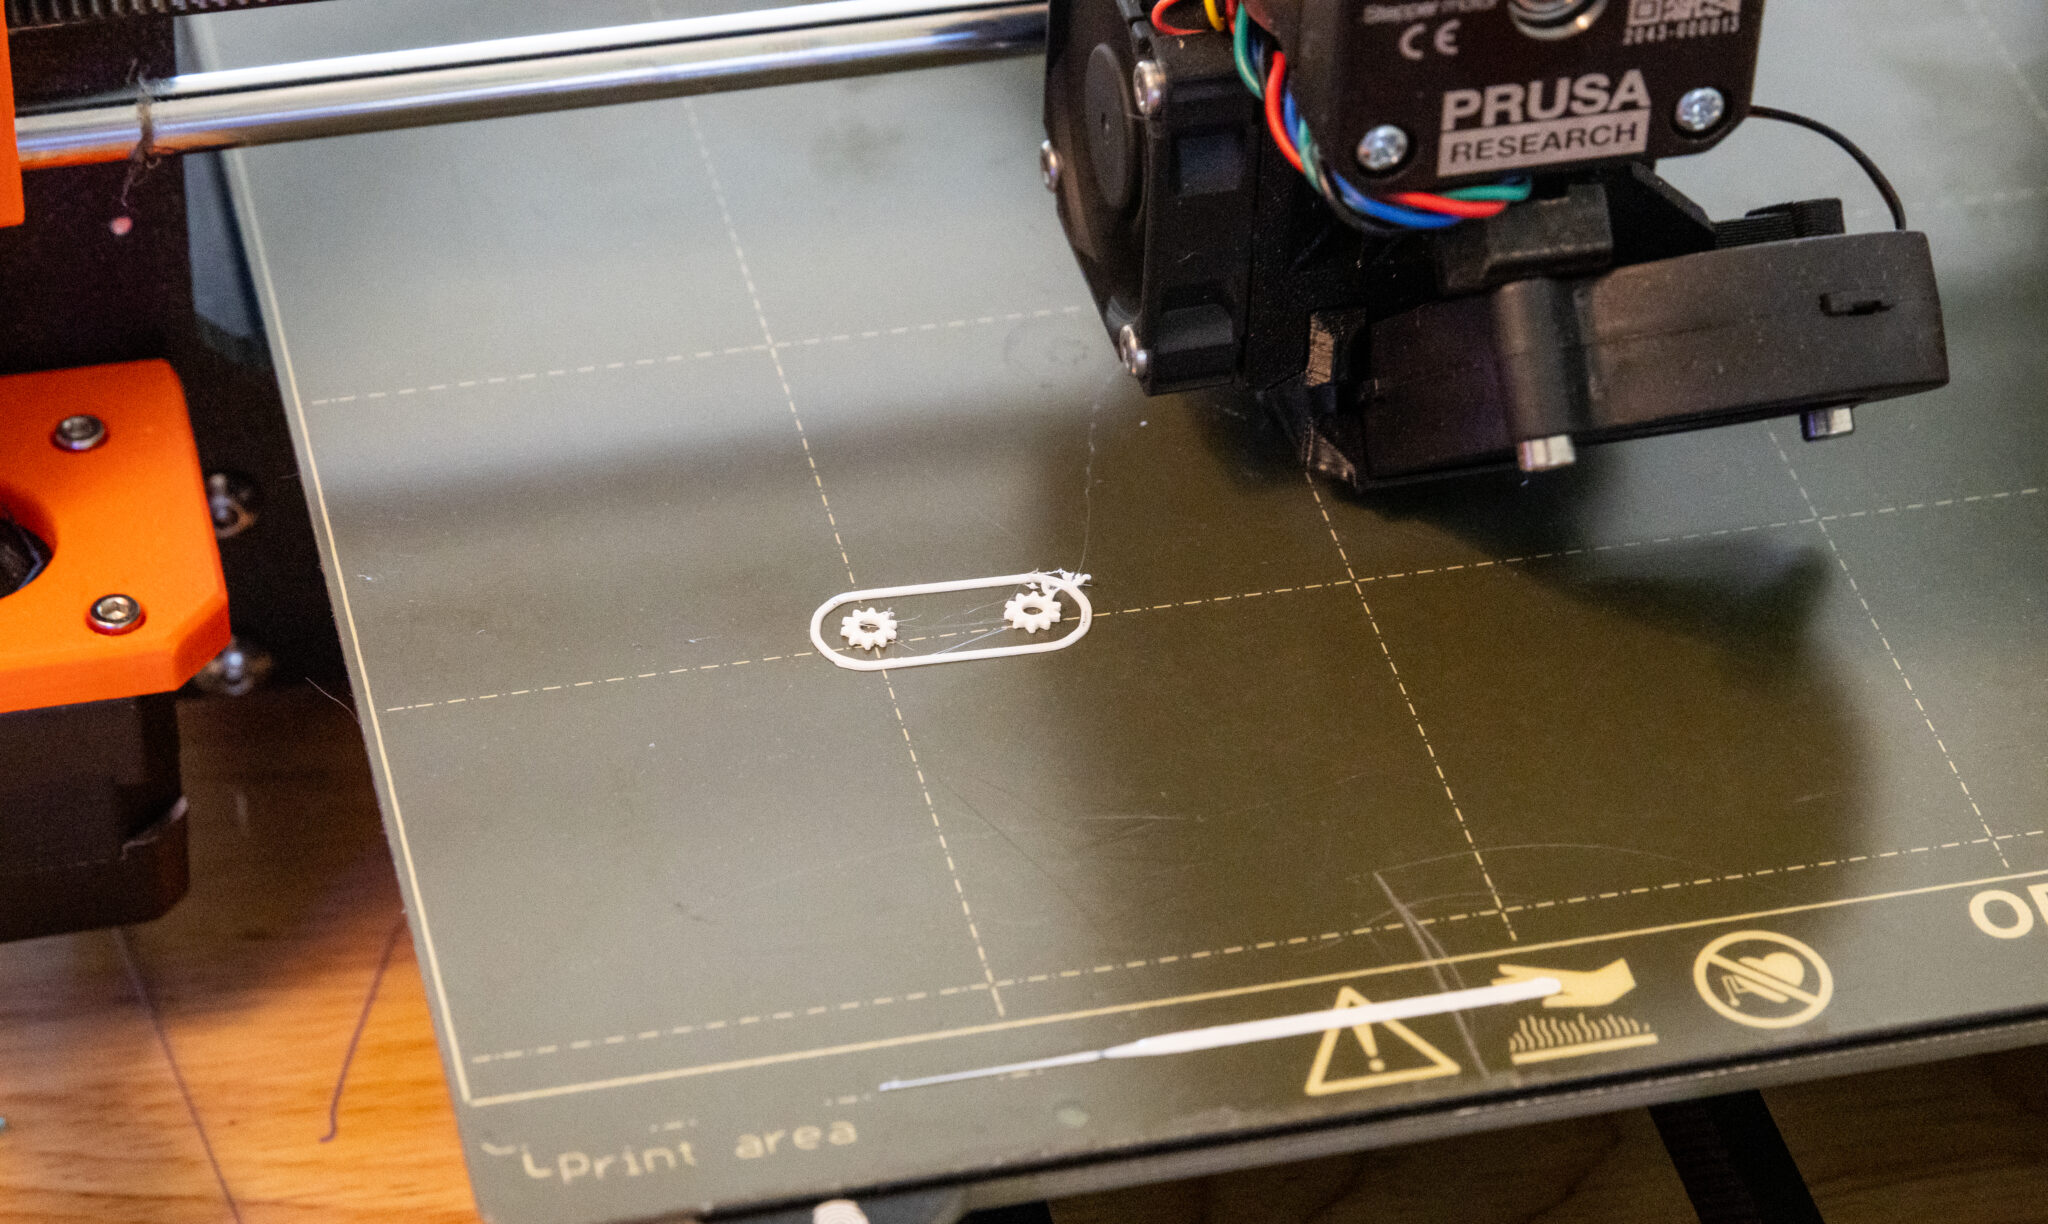
I recommend printing them out with a pretty hard material (I use PETG), with 100% infill. Since they’re so small they print out very quickly.
Both the left and right drive gears were broken on this Petster, so I printed out two new ones:
Once the gears were printed, I rounded out the axis using a tiny screwdriver, and got them installed:
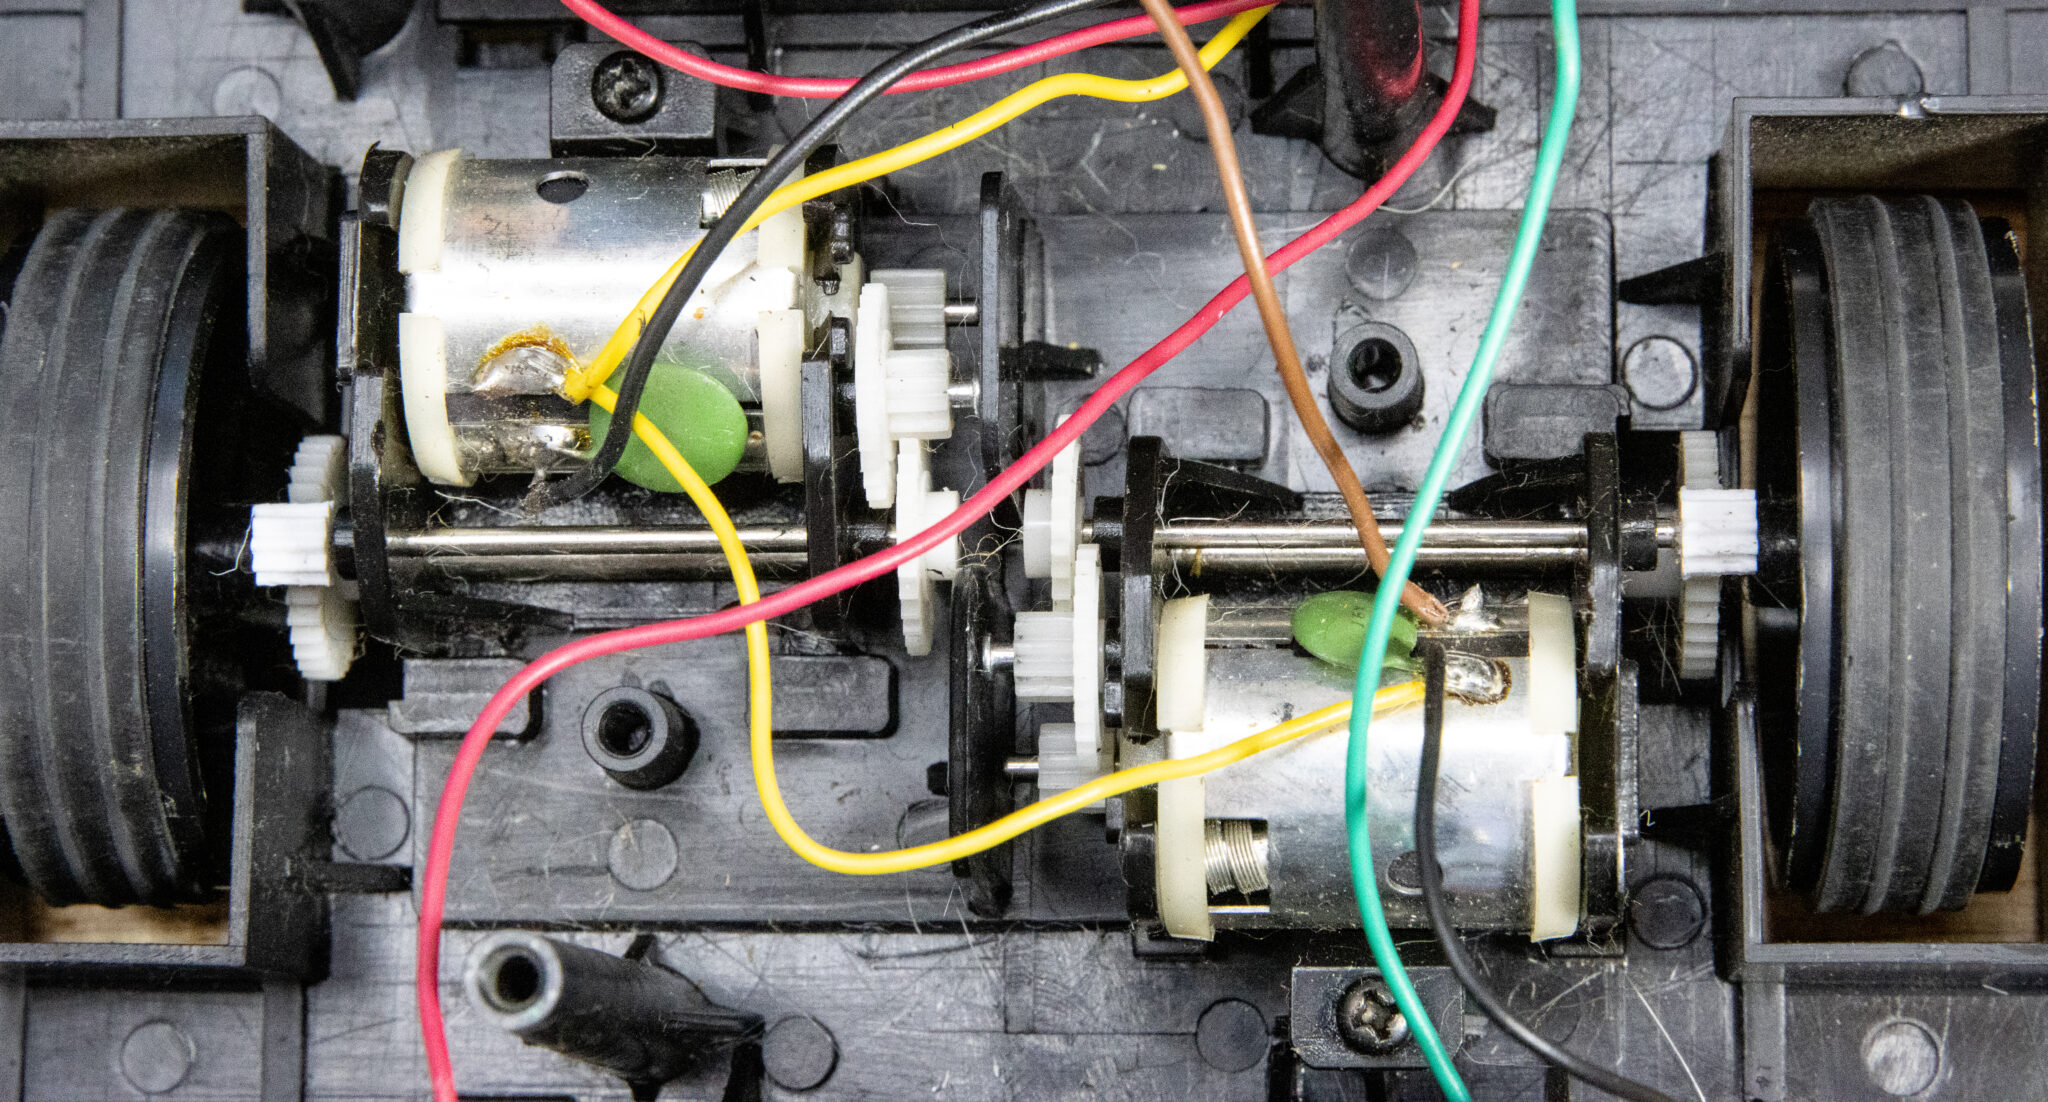
Before I call this repair good, I always stop to run it with the case taken apart so I can make sure the gears are running correctly.
It looks like this:
That “meow” sound is one I’ll never forget. I’ve heard it so much in my life. It’s a part of my childhood. 🐰💜🐱
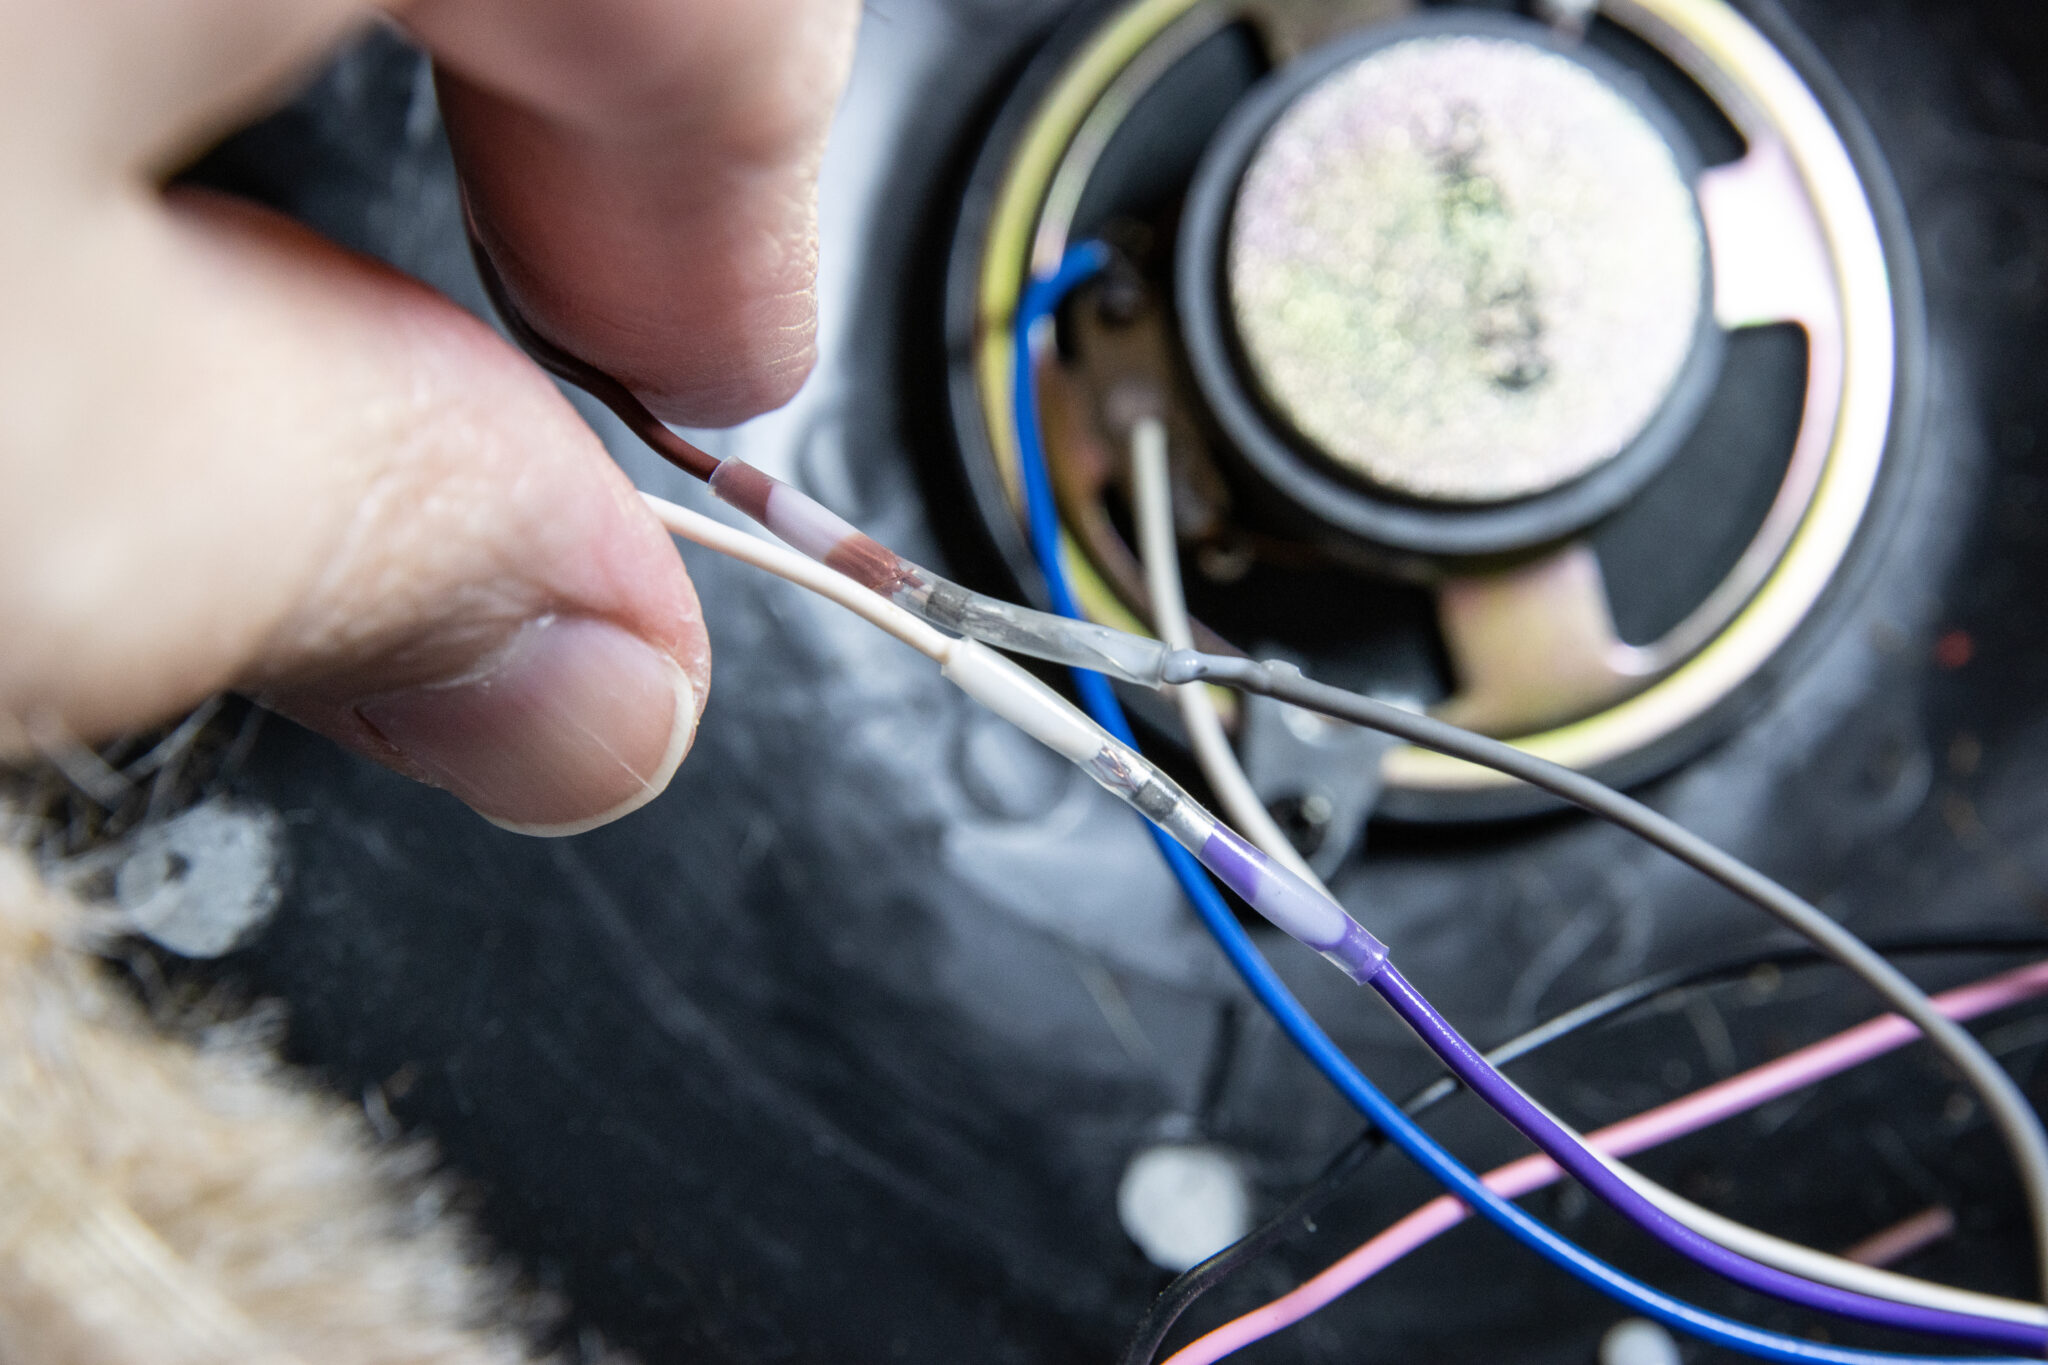
Since I’ve got the case open, I usually clean up those hand-soldered wires. The electrical tape tends to fail after 40 years, and a short can occur. I cut that out and use modern connectors to seal them up.
After this was complete, I put it all back together again. (Twice! I put it together backward the first time… 😳)
Okay, let’s test it!
Just like a real cat, it took a while for it to make up its mind to come to me. 😅 It knows by using two microphones built into the side of the case. The room where I’m in tends to echo a bunch, so sometimes it confuses the cat, but it’ll eventually get there.
Thanks for getting this far into the post! I really love these cats. They’re so much fun to play with, and were a really cool piece of 1980’s technology. 💜